
We would like to introduce you to a short guide on how to correctly issue an invoice in the ALTUENA INVOICES system. It is a very simple process, but to make everything 100% clear and understandable, we will also include images. If any of the steps are not clear to you – please send us a message so that we can complete this entry. As with most systems, we invoice someone, either a company or an individual. The first step will be to add the customer to the system. Once you have logged into the system, go to the CLIENTS tab.
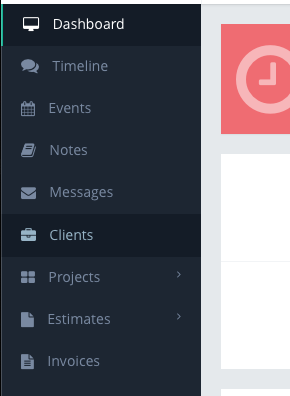
Then select the “ADD CLIENT” button in the top right-hand corner. After clicking on it, a window will open in which you can fill in your customer’s details. Of course, the more information you add, the easier it will be to identify your customer in the future, so it is a good idea to include their telephone number or website address, as you never know when this information may come in handy.
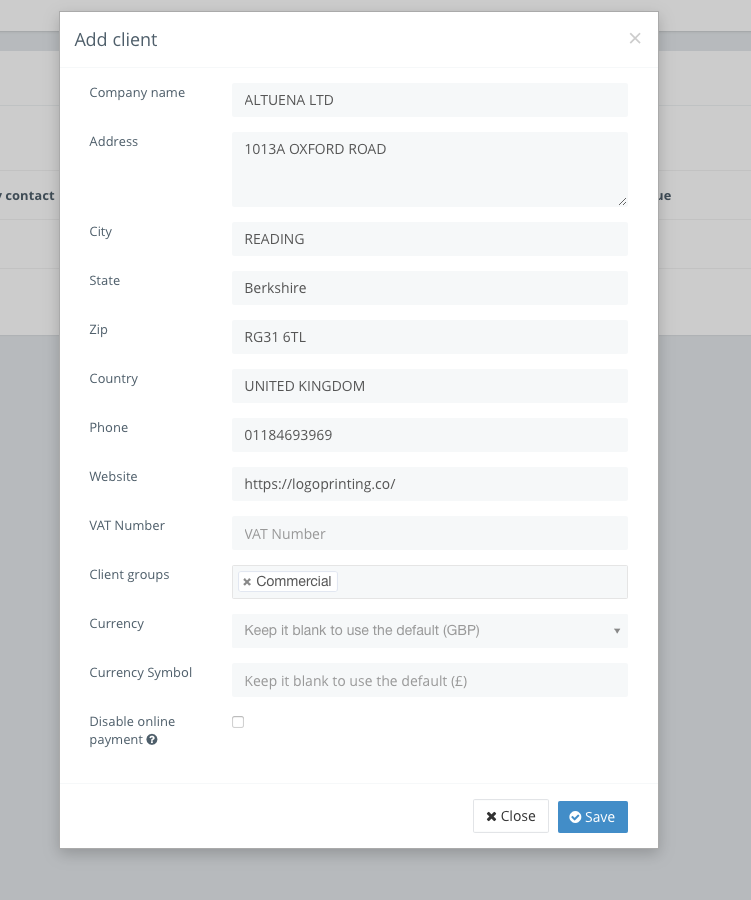
Once all the fields have been completed, save everything by clicking the blue ‘SAVE’ button. The company has been added. Note that this is not all ! This system assumes that a company is not just one person, sometimes it is several people who work in different departments. Therefore, when you add a company, you need to define a minimum of one person who works in the company. To do this, simply click on the name of the company you have just added, there you will find the CONTACTS tab.
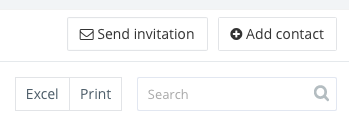
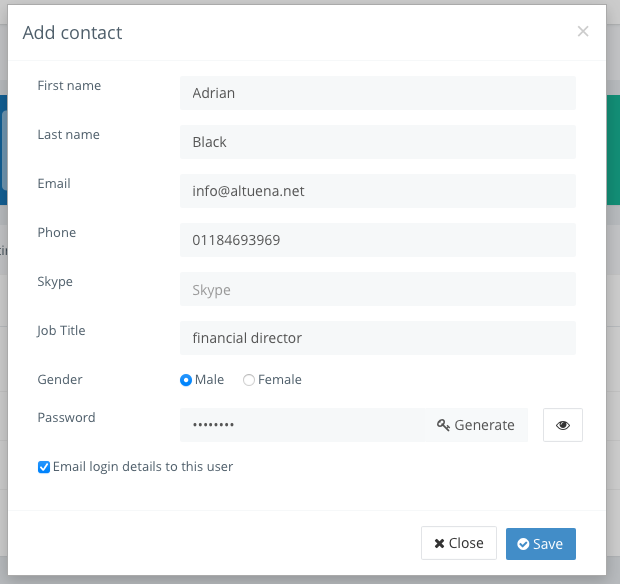
Here, traditionally “on the right”, we select the “ADD CONTACT” button and fill in all the data again. Finally, we generate a password and select it to be sent to our customer. This way, our customer will be able to log into the panel, see or pay the invoice and comment on pending orders.
Once we have added a customer to the database, we move to the INVOICES tab. There, on the right-hand side, select ADD INVOICE. The system will ask us to select the customer for whom we want to issue an invoice and the date of the invoice. After selecting the appropriate options, click the SAVE button.

The invoice is ready. It now remains to add the service or item for which you want to invoice. To do this, select ADD ITEM.
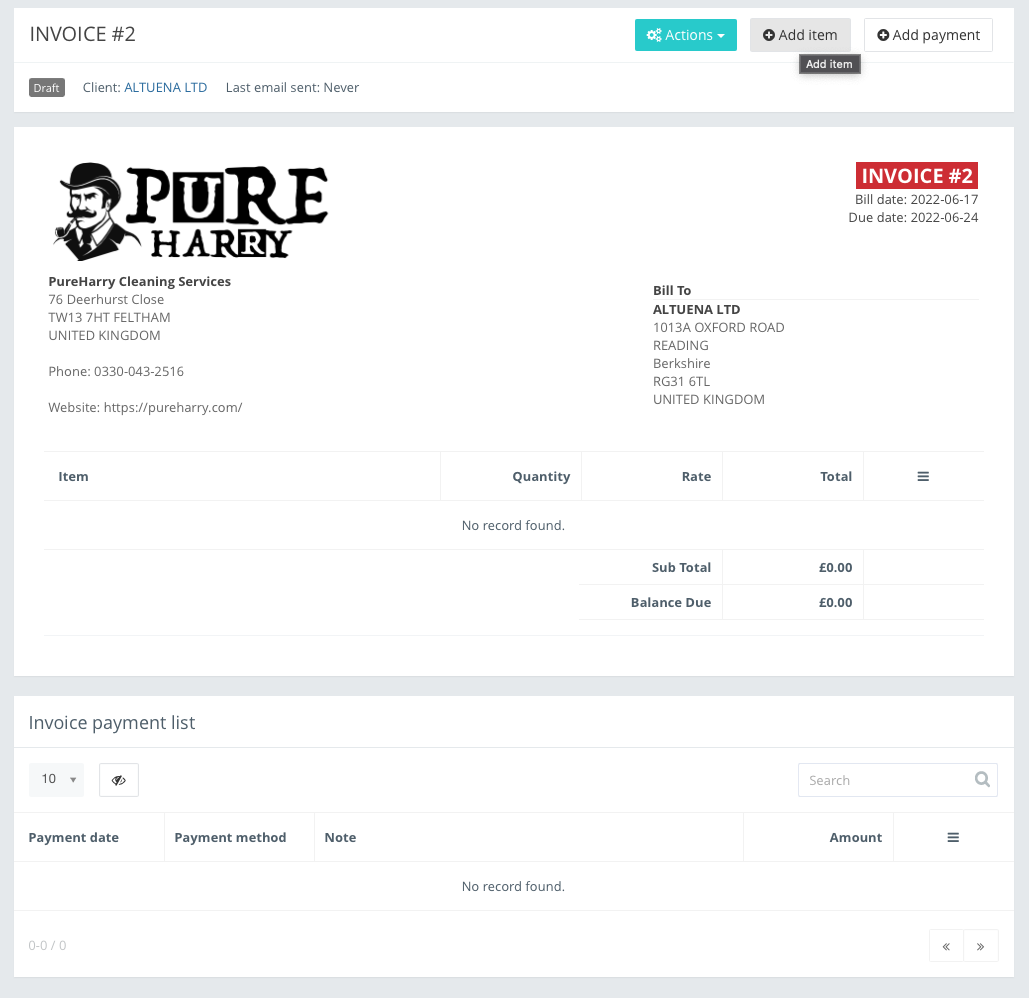
We can define the service and its price, then on the following invoices we will not have to give the whole description and everything will show up automatically, we can obviously change the price . If you want more items on the invoice, simply repeat the ADD ITEM action. The system will automatically count the items and summarise the invoice.

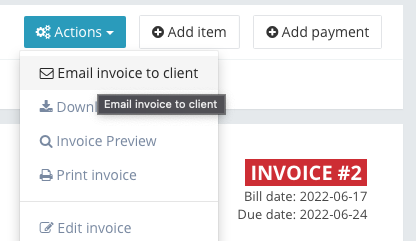
The invoice is ready. We can send it to the customer. Now click on the blue ACTIONS button at the top of the page, and the EMAIL INVOICE TO CLIENT option. At this point, our customer will receive the invoice to their email address that we provided when adding the customer. If you want two people in the company to receive the invoice – for example, two partners – simply define two people in the contacts, and repeat the invoice sending process twice by selecting another contact from the menu.
The system automatically marks invoices. How do you understand this? If the customer does not pay the invoice by the deadline, the system automatically marks the invoice as unpaid and sends an automatic payment reminder to the customer. Invoices paid by card or paypal are automatically marked by the system as paid. Invoices paid by cash or traditional bank transfer must be marked manually.
If you have any problems with the system, or if there is anything unclear, please contact our technical department. We will do our best to help you.


Leave A Comment